Sunday, 8 June 2014

I seem to be very short of time playing with the toys ( I am loving my new toy, an aeroplane, its an RV4, G-IKON: http://gikonhome.blogspot.co.uk/ ) so am not doing very well with this blog. Anyhow, here are some photos of the finished job (remember, you can click on the photos to bring them up to full size )


                                            Blue Oyster on her F/A mooring at Brightlingsea.


Hanging wardrobe.


Heads overhauled with new electric macerator/pump, much nicer than the hand pump. I have re-routed all the anti-syphon plumbing into the wall on the left. Hot and Cold pumped water to the sink.


Fwd cabin. I removed the wall linings, cleaned all the old glue off, fitted new "scrim foam" (very thin foam) to the walls (it had all fallen appart) and refitted the old vinyl on the walls to retain the match with the ceiling.


Fwd cabin looking back, you can see the back of the cushion in the main cabin through the "cat flap".


You can see the heating outlet where the water foot-pump used to be. There are two further warm air outlets inside the fwd cabin. I used an Eberspecher warm air heater (taken from a prison van!) which has a thermostat in the main cabin.


New cabinettes on the side and one under the cockpit entrance.......lots of work, but I had really lifted the feel of the main cabin. In this picture you can see the new chart table, the corner locks into a catch to support it when full out. In the table there is a slot for charts to be kept unfolded.


The quarter berth now has a small opening window into the cockpit, more light and ventilation. You can see the CO detector under the step and the smoke detector under the electric panel. Under the electrical panel you can just see the RCCB and one mains outlet, the other mains outlet is at the back of the top shelf in the "galley" area.


With the table full out makes for very comfortable dining.


All the upholstery was made by SLC Upholstery at Clacton. They did a beautiful job for a very reasonable cost, I could not recommend them higher. ( http://www.slcupholstery.co.uk/ )


Dual batteries serviced by 20W Solar panel and Rutland 504 windcharger. My dealings with Marlec the manufacturers left much to be desired with faults in both the HRDi controller and the wind charger. I would not use them ever again and would not recommend them to my worst enemy....all right maybe I would!!


I made the Sapelle wood curtain and center ceiling fittings. The center railing has an LED strip light down the middle (Red or White with variable brightness) and helps retain the ceiling panels which have been recovered.


Finally at sail for the first "shakedown"......14kts wind and a log speed of 5.7kts & we weren't really trying. Rigging still needs adjusting.


No boat is complete without a cocktail cabinette!!!


All the water-ways and cooling jacket were very badly choked with corrosion debris so all the core plugs were removed and a considerable time spent mechanically removing all the rubbish.


The engine mostly rebuilt with honed bores & new rings. All the bearings in journals were in exceptionally good condition and re-fitted.


Rebuilt with all new gaskets and seals. Note the additional water pump on the back of the accessory case. This is for the fresh water cooling system via a stainless steel heat exchanger. No more corrosion to worry about!!


Clean and painted with new sound proofing panels in place.


You can see the stainless steel heat exchanger in the back on the left.


The black cylinder bottom left of this picture is the coolant (anti-freeze mix) header tank with a sight glass.


The keel reinforcement had not been done very well on the Stbd side, "sounding" ( tapping the fiberglass reinforcements where they bond to the hull ) the area revealed a lack of bonding between the gussets and the hull so I very carefully cut out all the gussets ( being very careful not to cut into the hull, but most of it could just be pulled off! ) and remade all the gussets and added an extra one.


This is all the parts removed. If it were bonded correctly I would not have been able to remove them so easily.


All finished......the water tank is fixed to the wide gussets.


Mast head fitting with lots of anti-bird spikes!

Thursday, 8 May 2014

Galley refit

The boat was as original, but in fair condition.....the trouble was I wanted a new boat but couldn't afford one! So out with the old and in with the new style!


It was all very tired and water stained, hot and cold pumped water to come!


I wanted LED lighting throughout, so getting rid of the old fashioned striplight would leave a hole in the cupboard surround, so that had to come out. The brief was also a cooler for the cool-box (you can't call it a fridge, but the cooler works well, more of that later)

The oven although used was in vgc, and I am determined to have my Christmas Turkey in there!!


While I was in there the formica work-tops were tired, and needed a lift, so some "granite" formica was fitted on all the horizontal surfaces. The wires are for the cooler controller and the central heating (hadn't I mentioned that yet?)


 The same technique as the electrical panel was used to make new surrounds. I didn't like the original plate "rack" so decided a cupboard would do well there also.


Making and fitting a new vinyl cover for the rear cabin was a bind, I take my hats off to the original builders for the job they did! (If you remember this panel had a large piece of wood on it with the harness clip bolted through it.)


Looking good, just the replacement cooler cover to do, and lighting and fridge and replacement gas hoses/pipes etc etc......


                                                                           Tad Dah!! 


Oh yes, the cooler. I used a couple of Peltier cooler blocks clamped to the aluminium plate in the cooler box with a computer mini-fan to move the cooled air about. On the other side is a computer liquid heat sink with antifreeze mix circulating the heated coolant to another heat sink bonded to the inside of the hull with an aluminised resin to conduct the heat.

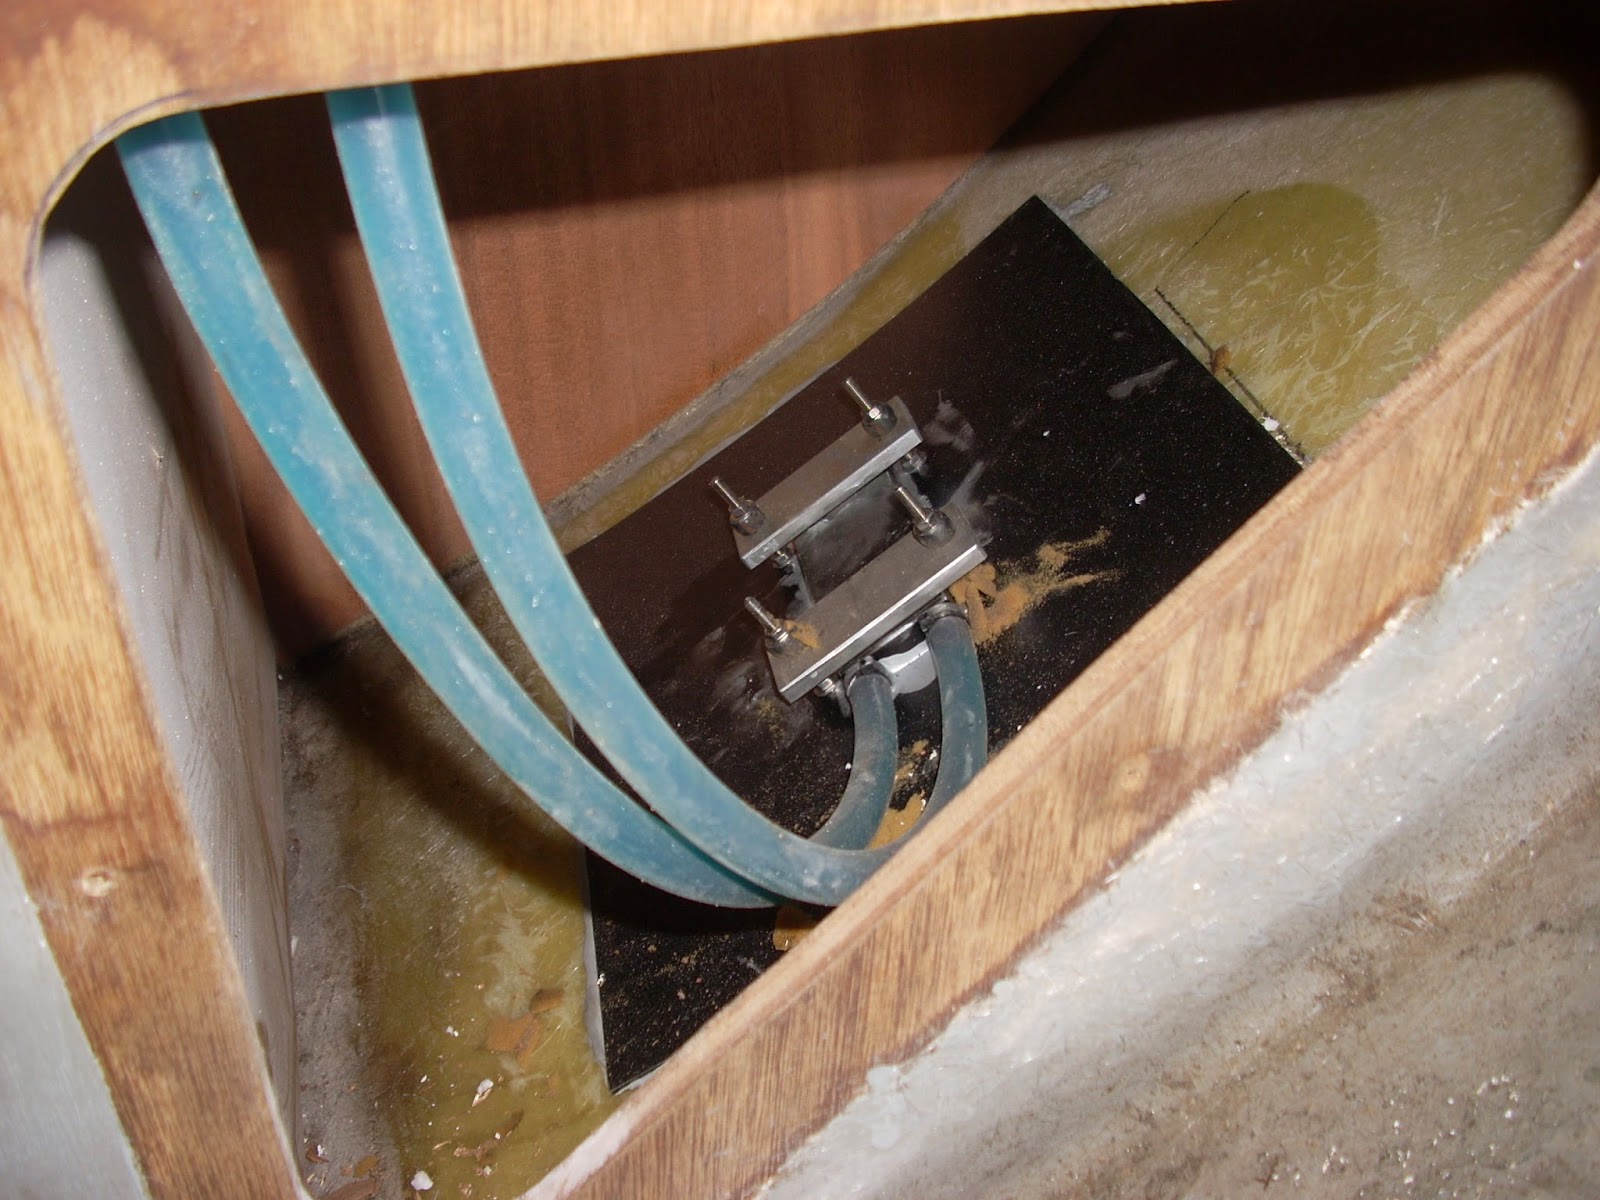
This is a hatch I cut in the bulkhead behind the coolbox. You can see the heatsink and the pump (again a computer unit, very low current consumption) The two Peltier blocks are set up so you can have one or two running controlled by an electronic thermostat, they are very current hungry, about 4 amps each so need to be used with battery state in mind.


Dream boat.......well it will be once it's done!

The Westerly Griffon has a very good reputation for being a comfortable cruising boat as well as having good handling and performance for a bilge keeler. Based upon my research and recommendations we looked at similar types of boats but found the Griffon to be all we wanted. I am 6ft and could stand upright with my hair just touching the ceiling (which was hanging down as do most old Griffon head-linings!) As a novice sailor having a bilge keel is welcome for those times when you don't quite make the tide! (click on a photo to see full size)

We found "Blue Oyster" locally at Morgan Marine Brightlingsea up for £9,995. She was well equipped with Depth, Wind and Speed logs, and a very nice Raymarine Chartplotter with Radar. The interior and indeed the whole boat was ok but very tired and in need of refurbishment, the nicest thing was that it was honest and had not been "tidied up" . The engine started ok and smoked a little (I was later to find out that it is a characteristic of the Volvo Md7) but if I were to enjoy taking this boat off-shore I would need to know in my own mind that all was well inside so it would be rebuild or replacement.
Some negotiation and a quick sale meant it was time to get her home. Driving to Brightlingsea from Colchester every time to work on it would be expensive on time and fuel, plus the cost of keeping it in Morgans yard made a trailer a "no brainer". I am handy with a Mig Welder, and about £1ks worth of steel and second hand axles from a Transit plus tow hitch had the trailer built.


So with a bundle of help from my friend Ian we towed the boat home and planted it in the front garden! The original idea was to bring it around the back of our house across the farmers fields, but after giving us the thumbs up before we bought it changed their minds! However, it was great to look out the lounge window and dream of sailing it!!


.......and from the feedback we had the locals enjoyed Christmas time..........

Typical of most Griffons the headlining had come unstuck and the other headlinings/sidelinings had also failed. Getting the old adhesive off was a real chore, I found the solvents to be nasty to use for both the smell and expense, so reverted to a good old wire brush. I machine I bought called an MBX was a life-saver. Its like an angle grinder but with a hooked wire wheel, this made short work of removing the old impact adhesive.
Very original interior showing the rooflining hanging down


Wardrobe sidlining.


Smelly!


Spot the different window, scratches and the corrosion on the window bezels.
Original cushions, worn well. So much potential.......!


It's called the "cat flap" where you put your feet through!


Nice cooker......Sunday roast in there one day!


Working ok, but what's lurking inside?